Here is a tutorial for making Fancy Fabric Boxes. In my
last post I included only the written instructions. This should make it easy to copy, paste, and print the instructions. You will not have to print all the photos (and use lots of printer ink!)
Again, I would like to ask you to not sell these directions - as they were given freely. Use them to make boxes, but not to profit from the sale of the instructions.
Here is a picture of the box I most recently made - and what YOU will be making!

Supplies:
|
Materials:
|
scissors
ruler
newspaper
masking tape
Scotch tape
Fraycheck
two big purple gluesticks
double-sided tape
X-acto knife
|
A cardboard half-gallon container (like orange juice or milk) washed and dried.
muslin
two complementary fabrics
some batting
a manila folder
foam board
a pretty button for a lid handle
|
Pick any colors you like! One fabric will be the main body of the box, and one will be the contrast color. Keep in mind if you pick a stripe or a plaid, it looks better and takes extra effort to match the stripe or plaid around the curved corners.
OUTSIDE OF THE BOX (Step 1 – Step 7)
Step 1
To prepare your carton, open the top fully. You may need to remove the little plastic "spout" found on some cartons. Mark a straight line 3 and 1/2 inches from the bottom of the carton. Score across this line with your scissors. Cut down the four edges of the carton until you reach the scored line. Trim the top of the carton to form 4 triangles, one on each side of the carton. These triangles must have a height of 1 3/4" and come from the corner of the carton. These triangles actually mimic the fold that is already apparent on the carton.
Step 2
Rolled-up newspaper is used in order to give the
box its pretty rounded sides. Cut strips that are 3 and 1/2 inches wide
and 22 inches long. Stack 8 of these strips together and roll them up
very tightly. Then tape around it to keep your little roll all rolled up.
You will need 8 rolls like this, 2 for each side. (These look like a roll
of 50 pennies)
Step 3
Now, tape the newspaper rolls to the sides of the
carton, about in the middle. Fold down the flaps you cut, and securely tape the triangles to the bottom of the box. They should meet in
a square. You can use masking tape OR scotch tape in this step.
Step 4
Using template "B" as shown below, cut
from the manila folder 4 corners. If you have trouble copyint Template "B", it is 3.5"
tall and 1.25" wide. You may need to trim each one to
fit its corner on the box. Once it is trimmed to fit, use the scotch tape
to tape the corners down. Our carton is beginning to look like a
box! In the next step, you will use muslin to cover up the wads of tape.
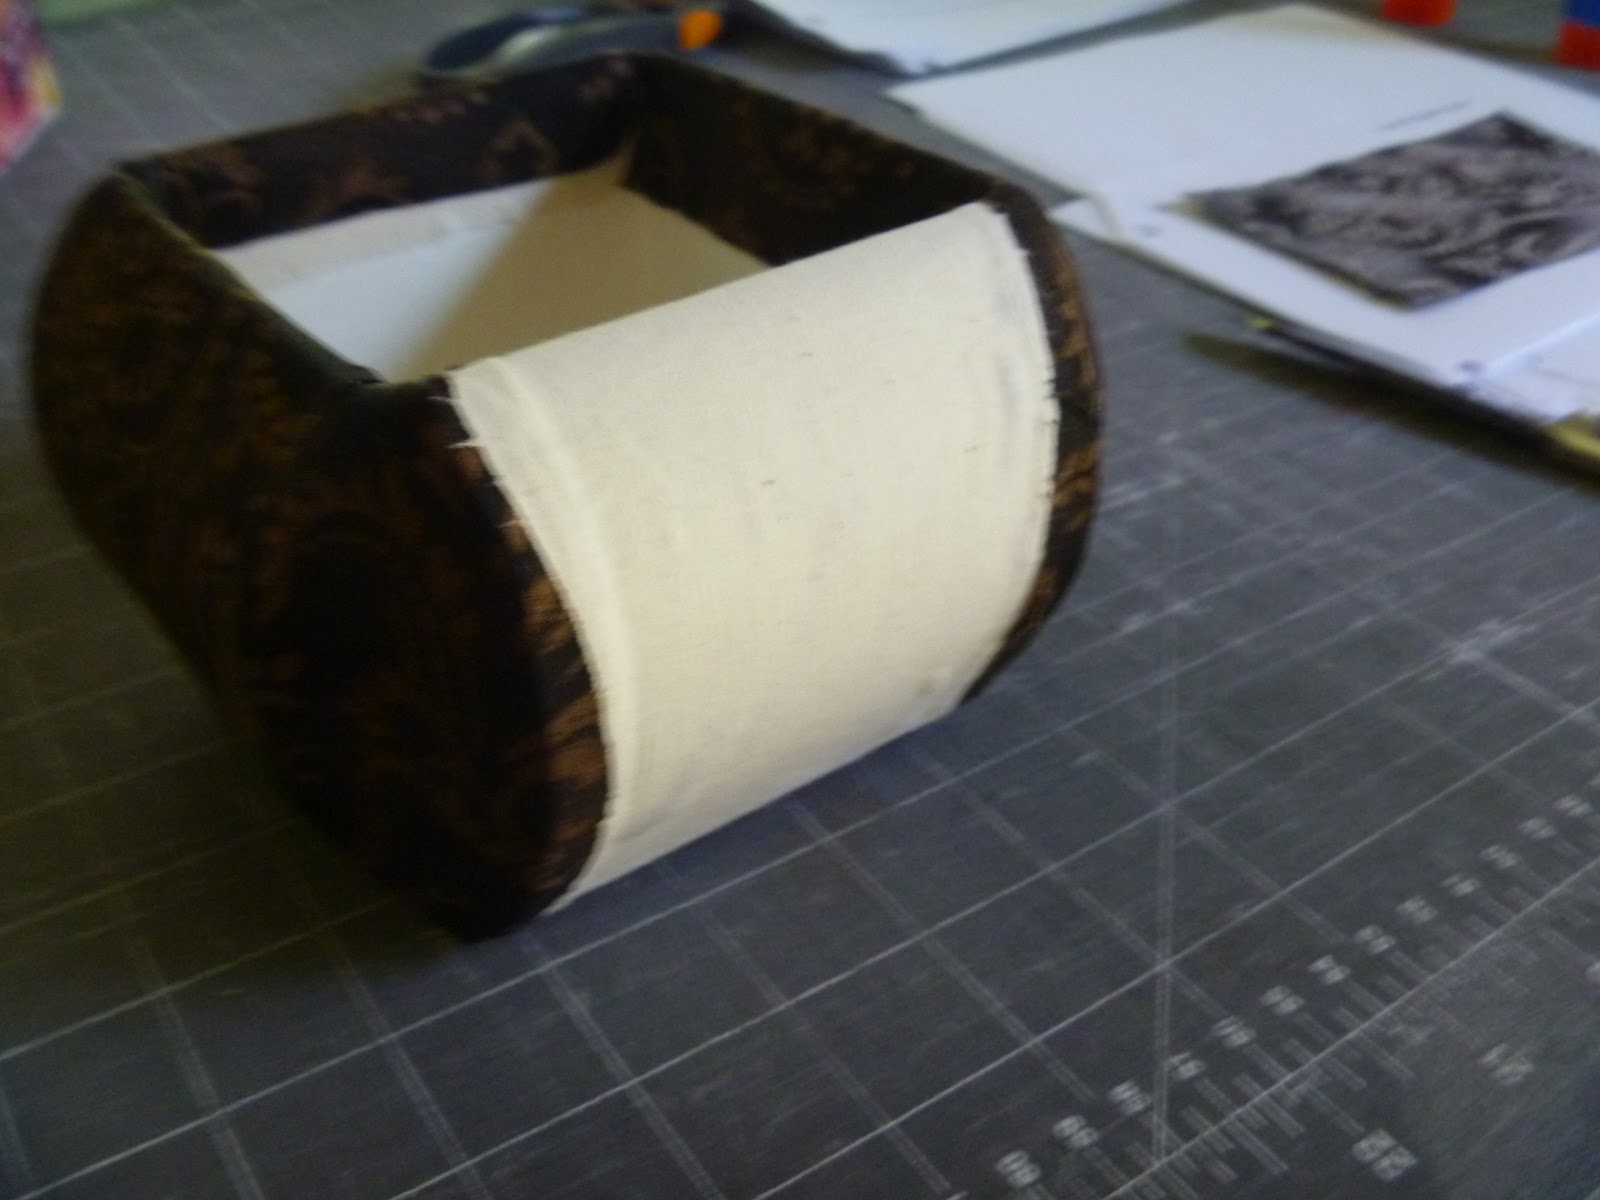
Step 5
Cut
four 3 & 1/2 by 5 & 1/2 rectangles and
four template "A"s from the muslin
(leaf shape) Template "A" is 4.75" tall and 2" wide.
On the leaf-shaped pieces, make little clips around
the edges so that they will lie flat. Using the big purple gluestick,
apply lots of glue on one side of each piece of fabric. Remember how your
kindergarten teacher taught you to never, ever use more than 5 drops or 2 rubs
of glue? Well, forget that now! Slather it on! If you don't
use a lot of glue, the fabric may come unstuck. Or, it might stick to
your fingers more than it does to your box. Glue the corners on first.
Then glue the rectangular panels to the sides of the box. These rectangles should cover most of the slits in your leaf-shape and should extend an inch into the box and about an inch onto the bottom of the box.
Step 6
On the wrong side of your main fabric, mark
a 14" by 6" rectangle, and divide it into 4 3&1/2 inch
rectangles.
Fraycheck the fabric along these lines. This
will keep your box cover from unraveling and fraying. Allow this to dry,
and then cut out the 4 rectangles.
You may have to fussy-cut these rectangles if you
have a distinctly repetitive print.
Step 7
Cut out 4 template "A"s, and clip the
edges. Clip a little less than you did with the muslin so as to be careful not to cut into the part needed to cover the corner. Glue on the
corners, then the side panels. Remember, don't be stingy with the glue!
INSIDE OF THE BOX (Step 8 – Step 10)
Now the outside of your box is all beautiful, but
the inside still looks suspiciously like an orange juice carton. We are
going to make an inner panel next.
Step 8
With that manilla folder, cut a strip that is
14&1/2 by 3 inches. Make 3 folds in it so that it will fit in the
carton and up the edges. Now, using your contrast fabric, cut a strip
that measures 15 by 3&3/4 inches. Put lots of glue all over it, and
put the cardboard piece in the middle. Fold over both short sides, and
the top long side, but leave the bottom side unfolded.
Put strips of double-sided tape on the back of the panel, and fit it snugly inside the carton, with the loose fabric sitting on the bottom of the box.

Step 9
Cut 5 squares of the following sizes out of the
foamboard:
3.25
inches 3.5
inches 3.625
inches (3 5/8")
3.75 inches
4.75 inches
An X-acto knife works best to cut it, but scissors
will work all right.
Step 10
From your main fabric, cut one 5 inch
square.
From your contrast fabric cut three 5 inch squares
and a 7 inch square.
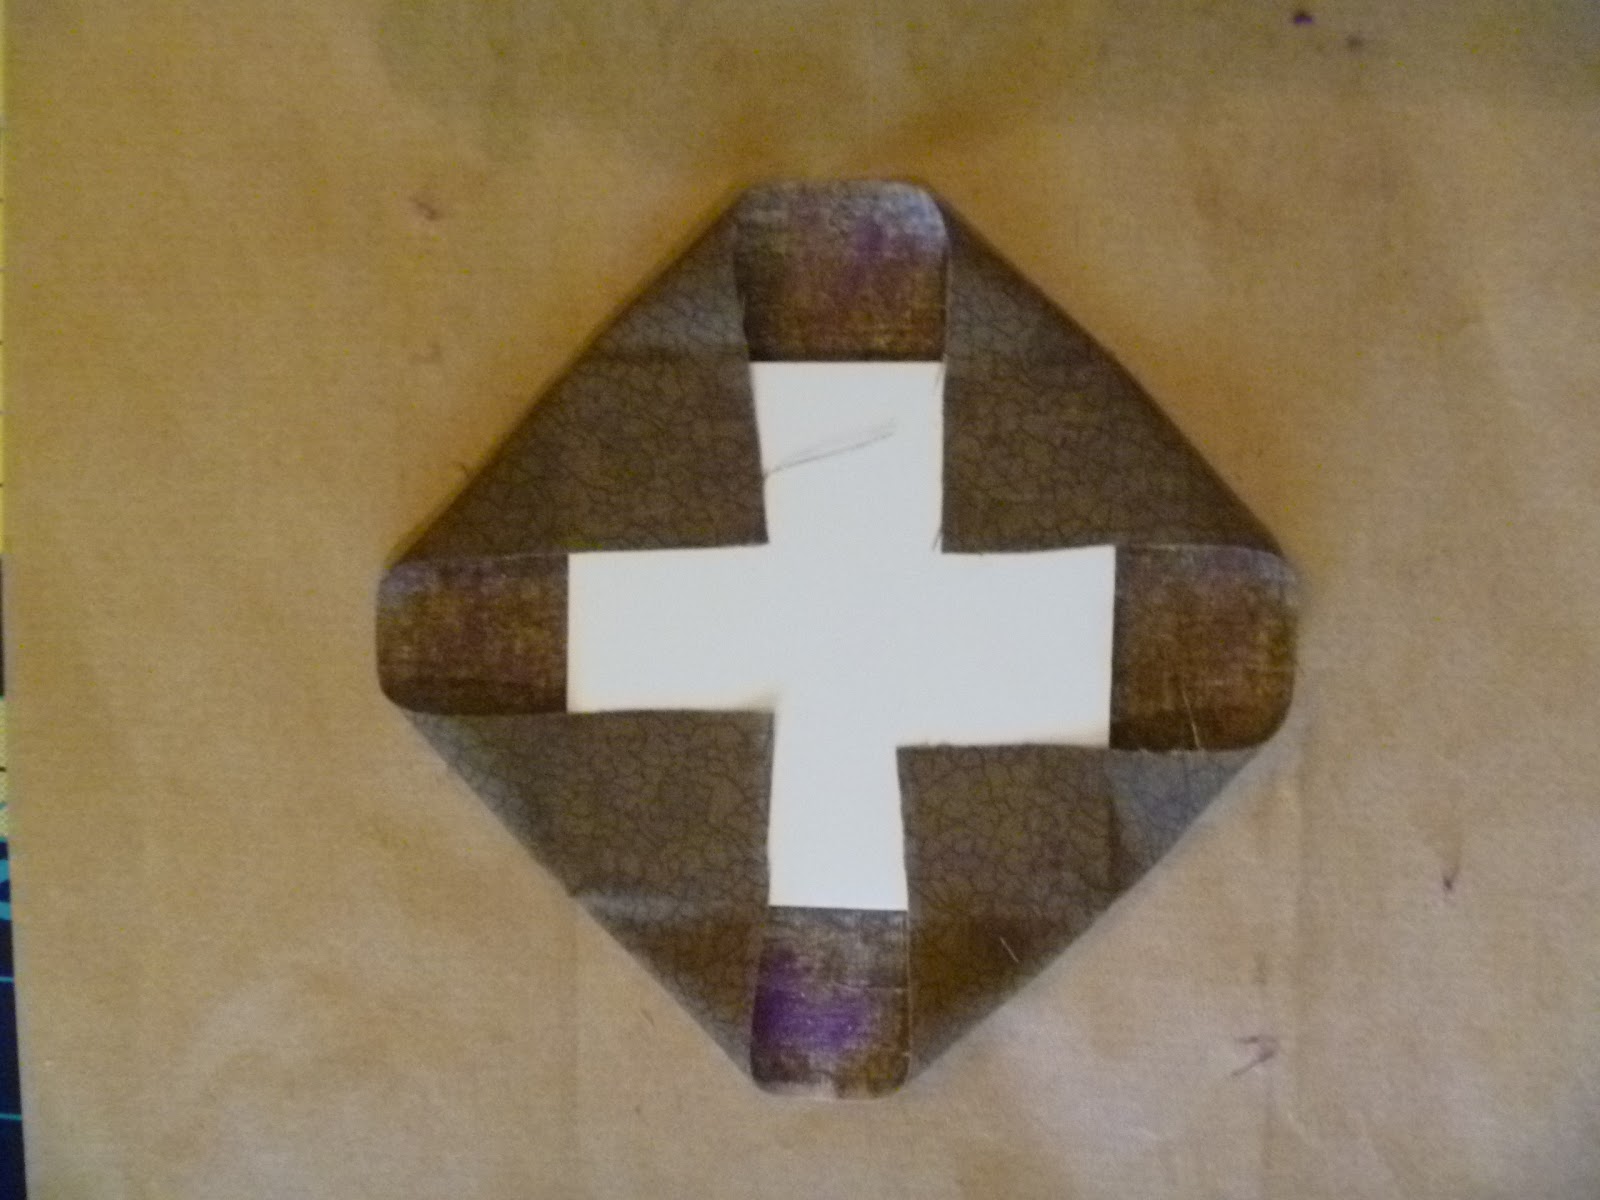
Using the 5 inch squares of the contrast fabric,
cover the 3.25 inch and 3.5 inch foamboard squares.
Cover the wrong side of the fabric with glue stick. Center the foam board on the fabric square.
I fold the corners over the foamboard as you can see in the photo above.
I apply more glue and fold the remaining flaps of the fabric onto the foamboard.
Put glue and/or tape on the bottom of the 3.5 inch square and drop it inside the box, fabric side up, and press firmly.
The 3.25 inch square will cover the foundation of the box. Press it onto the outside, bottom of the box. You may want to turn the box upside down and put a heavy book on top to make sure the foundation sticks. While it dries, you can assemble the lid.
THE LID (Step 11 – Step 12)
Step 11
To make the little cushiony top, cut three squares
of batting-a 3 inch square, a 2.5 inch square and a 1.75 inch square. Build a
little pyramid with them on top of the 3.75 inch foamboard square, then cover
with a 5 inch square of your main fabric.
Take the 3.625 inch square of foamboard, and trim it to fit loosely in the top of the box.
Cover it with the other 5 inch square of your main fabric,
and cover the 4.75 inch foamboard square with the 7 inch square of contrast fabric.
Now you stack the three together, big one in the middle and cushiony one on top. You can stack them straight, or at an artistic angle.
Step 12
Apply a button to through the top (cushioned layer) and the largest square. I use about 8 strands of thread - like embroidery thread - and only put two holes through the foamboards. Tie the threads together. Glue the 3.632 inch square you fitted to the opening of your box on top of these threads. This square should hide the white foamboard and the threads.
Use glue, doublestick tape or both to put the lid together.
TA DA!!!
You have made a Fancy Fabric Box!

CathyH